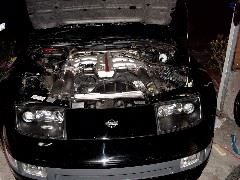
Lets start!
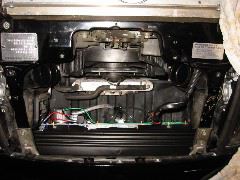
Remove the front panel
Remove the top of the air box
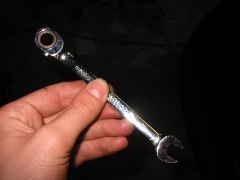
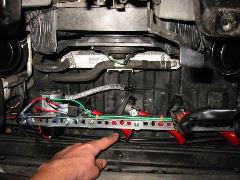
This is a very useful 10mm spanner - its ratcheted!
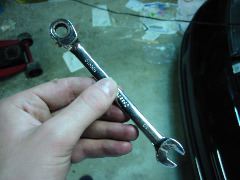
More spanner

Me hard at it
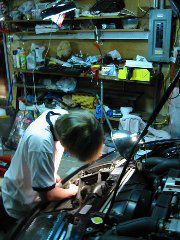
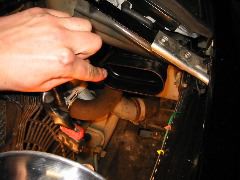
Getting at an awkward bolt
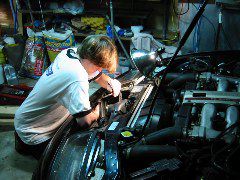
Still trying
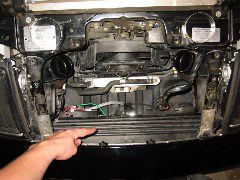
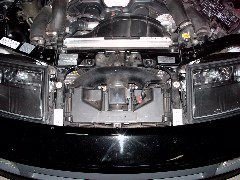
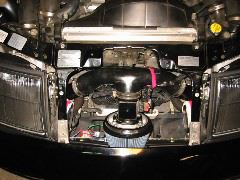
With the stock airbox out, you can see my airhorn assembly now!
Pointing at air horn assembly
Air horn assembly again
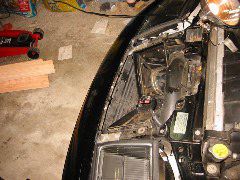
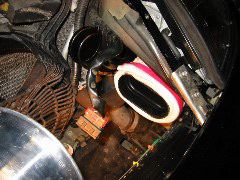
Input air from outside world
Most people will just leave these hanging (there is one on the opposite side). I hate rattling, unsecured things so in the next frame you'll see my solution.
This is the tube which enter the stock air filter box. Air enters this tube from under the front grille, travels up through the filter, into the T piece and travels to the turbo compressor input.
Now its strapped down and won't wobble around
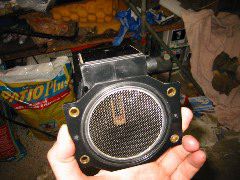
The mass air flow sensor
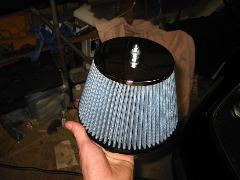
The Air filter from Jim Wolf Technology
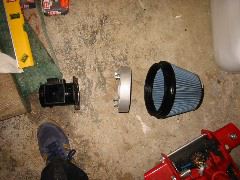
The three main air filter parts
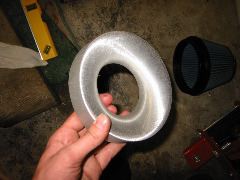
Beautiful CNC milled venturi to allow air to enter the MAF nicely
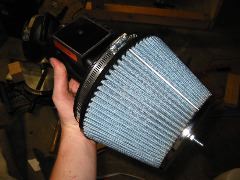
The MAF, venturi and filter all assembled
Now everything is done!